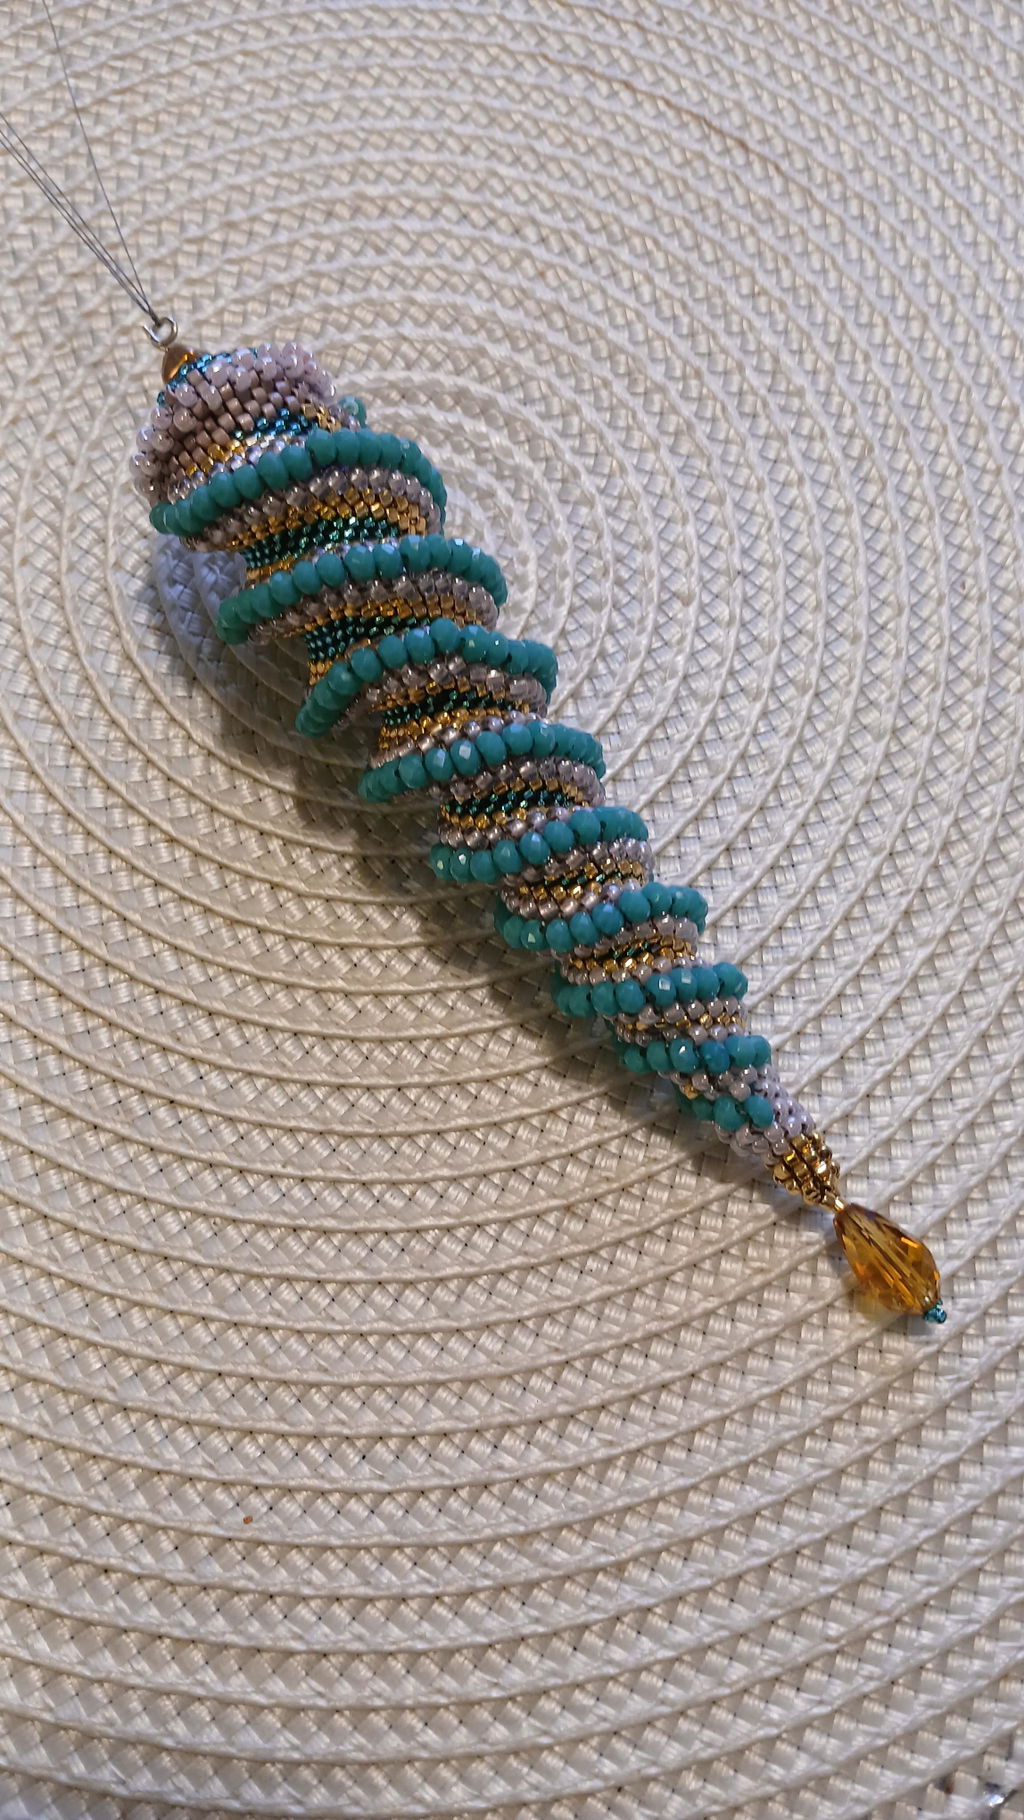
Creating your own jewelry can be a fantastic and creative experience. Whether you're a beginner or have experience in jewelry making, there's always an opportunity to learn new techniques and create unique pieces. In this guide, we'll explore how you can create your own jewelry from scratch using jewelry components. We'll look at different types of jewelry, the tools and materials you'll need, as well as step-by-step instructions to create your own amazing jewelry.
What are jewelry components?
Jewelry components are the parts used to create jewelry. These can include chains, beads, clasps, charms, and other decorative elements. By combining different jewelry components, you can create unique styles and design jewelry that truly reflects your personality. Here are some common types of jewelry components you can use in your DIY projects:
- Beads: Available in various materials, colors, and sizes.
- Chains: Used as a base for bracelets and necklaces.
- Clasps: Important for securing jewelry, available in different styles.
- Charms: Small decorations that can be added for a personal touch.
- Wire: Used to create shapes and attach jewelry components.
Tools and materials you need
Before you start creating your own jewelry, it's important to have the right tools and materials available. Here's a list of what you might need:
Basic tools
- Wire cutters: For cutting wires and chains.
- Tweezers: For handling small jewelry components.
- Round nose pliers: Good for bending and shaping wires.
- Flat nose pliers: For flattening wires and making loops.
Materials
- Jewelry components: Choose your favorites!
- Wire: Both craft wire and jump rings can be useful.
- Glue: For attaching jewelry components or for making more complex jewelry.
Step by step: Make your own earrings
Let's go through a simple project to create your own earrings. Follow these steps to make unique earrings with your chosen jewelry components.
Preparation
Start by gathering all your jewelry components and tools. Choose which beads and chains you want to use. Also, consider what pattern you want to create. Here's a simple design for a pair of dangling earrings:
Step 1: Cut the wire
Cut the wire to the length that suits your design. A general rule of thumb is to have twice as much wire as the length of the earrings, so there's enough to handle and tie.
Step 2: Attach beads
Thread the beads onto the wire in the desired order. If you're using multiple types of beads, experiment with colors and sizes to create an interesting design.
Step 3: Form a loop
Once you've added all your beads, use round nose pliers to form a loop at the end of the wire. This will secure the beads in place.
Step 4: Assemble the earring
Attach the earring hook to the loop and gently close it. You can also attach charms or other jewelry components to add further character.
Make your own bracelets
Now that you've learned how to make earrings, why not try making a bracelet? The same applies to this step-by-step guide:
Step 1: Measure your wrist
To make the bracelet the right size, measure the circumference of your wrist and add a few centimeters to make it more comfortable.
Step 2: Choose jewelry components
Choose jewelry components that are suitable for the bracelet. You can use multiple rows of beads or different charms to create a unique design.
Step 3: Attach the jewelry components
Thread the jewelry components onto the wire in any order. Use a clip to secure the ends of the wire so that nothing falls off.
Step 4: Finish the bracelet
Once all the jewelry components are in place, create a loop at the end of the wire and attach a clasp. Remember to try on the bracelet before fully attaching the clasp to ensure it fits well.
Tips for avoiding common mistakes
As with all creative projects, it's easy to stumble upon a few hurdles. Here are some common mistakes and how to avoid them:
- Overloading the wire: Be careful not to use too many heavy jewelry components on a single wire, as this can cause your jewelry to break.
- Skipping testing: Always test the jewelry you create before finishing them, so you can adjust the size or design if needed.
- Forgetting the tools: Always make sure you have all the tools and materials you need before you start, it saves time.
Inspiration and ideas
If you're looking for inspiration for your upcoming jewelry, there are several sources to draw from. From social media to DIY blogs and YouTube channels, you can always find new techniques and styles to try. Here are some ideas to spark your creativity:
- Themed party jewelry: Create jewelry inspired by seasons or holidays.
- Give away jewelry: Create personalized jewelry as gifts for friends and family.
- Mix and match: Experiment with different jewelry components to find the perfect combination.
Make your own jewelry kit
To facilitate your creative process, you might consider creating your own jewelry kit. Include a variety of jewelry components, wires, and tools in an organized box. This way, you'll have everything you need to create the same jewelry again or to experiment with new designs.
Create a community
Creating your own jewelry can also be a social activity. Consider inviting friends over for a jewelry-making evening, where you can all create something unique and be inspired by each other. Share your creations on social media to inspire others to try DIY jewelry making.
Unleash your creativity!
Creating your own jewelry is not only a fun activity but also a way to express your personality. With the right jewelry components and a little patience, you can make amazing jewelry that is truly unique to you. Don't hesitate to experiment with different techniques and styles, and remember that your creativity sets the limits. So grab your tools and start creating – your next masterpiece is waiting to be made!