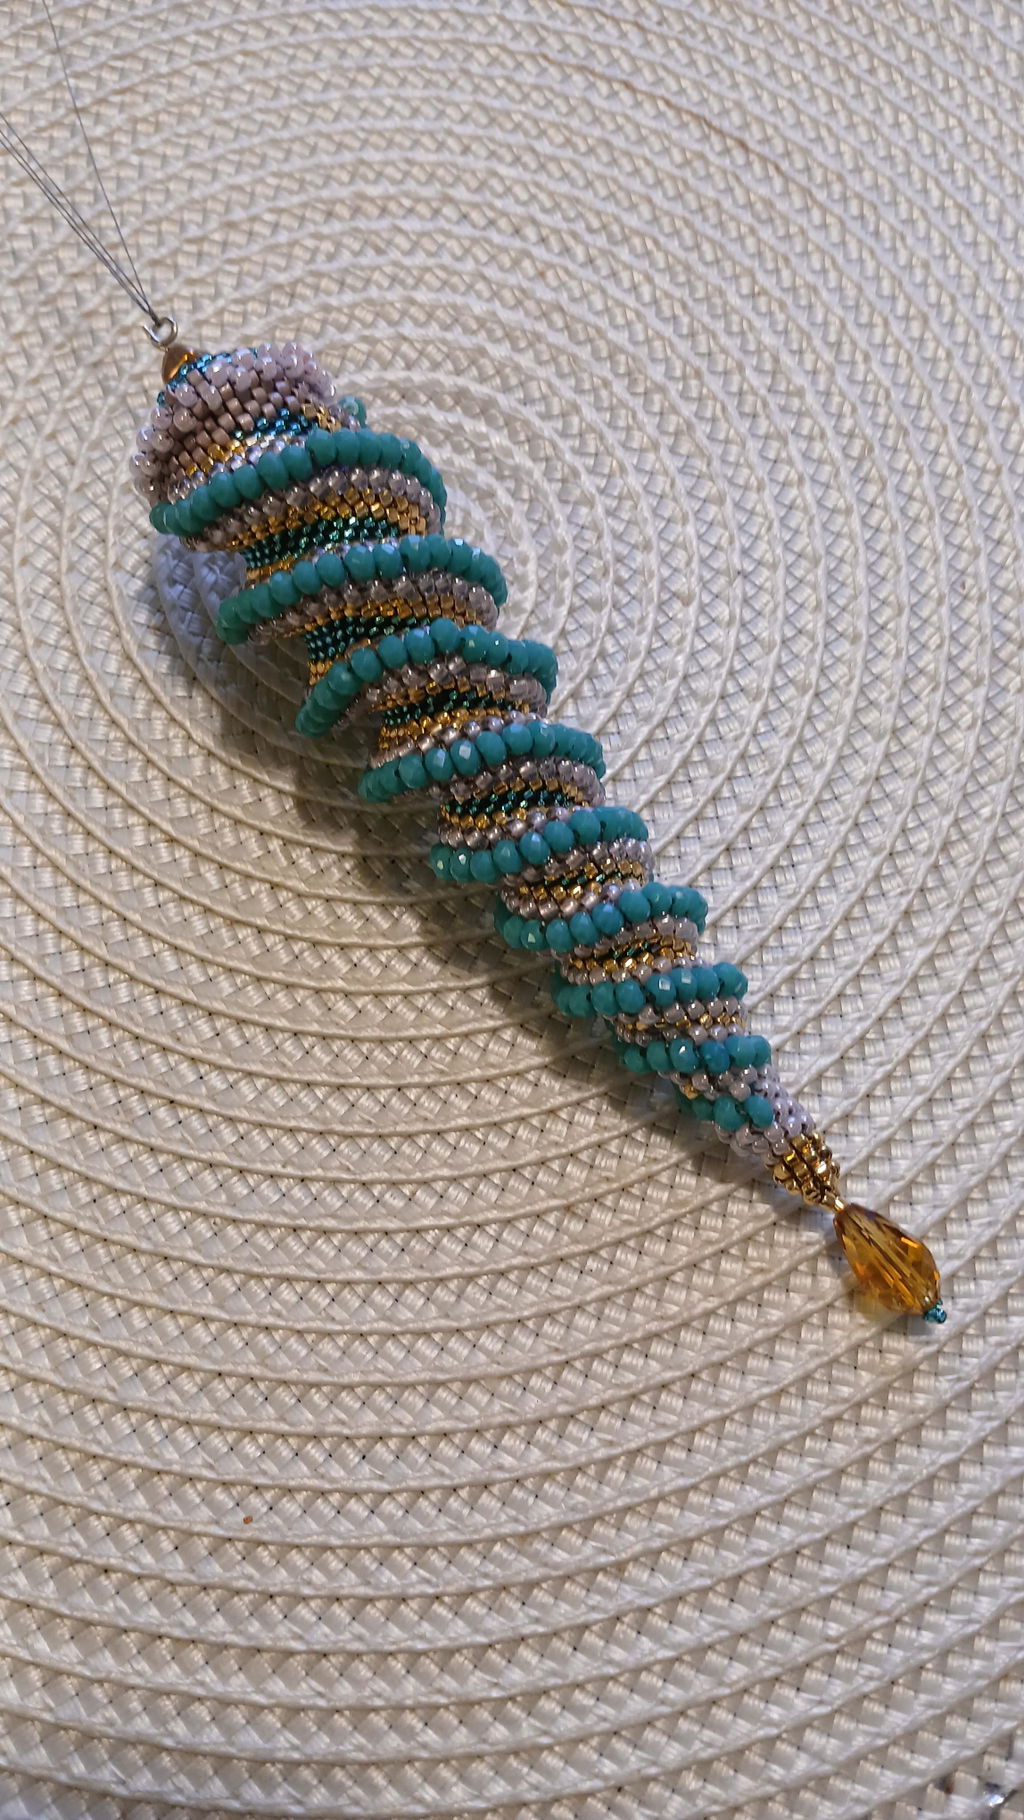
Overview
Create your own jewelry in 8 steps: Get a clear idea, choose seed beads as material, sketch your design, gather tools, start manufacturing, evaluate and adjust, package beautifully, and share your work on social media. Have fun and experiment with your style!
Frequently Asked Questions
1. How do I start creating my own jewelry?
2. What materials are recommended for jewelry making?
3. How can I design my jewelry?
4. What tools and materials do I need?
5. How do I present my finished jewelry?
Creating your own jewelry can be a rewarding and creative process. Whether you are a beginner or an experienced artisan, there is always something new to learn about design and craftsmanship. In this article, we will go through the steps of designing your jewelry, focusing on the use of seed beads, and provide tips for transforming your idea into a finished product. Let's dive into the exciting world of jewelry making!
Step 1: Get Your Idea
Before you begin the actual creation, a clear idea is needed. Think about what you want to express with your jewelry. Perhaps you've seen something inspiring online, or maybe you have a specific color or style in mind. Write down your thoughts and create a visual inspiration board with images, colors, and textures that appeal to you.
Step 2: Choose Materials
The choice of materials is critical when designing your jewelry. A popular and versatile component is seed beads. These tiny beads are available in a multitude of colors, sizes, and materials. They can be easily combined to create unique patterns and textures.
Why use seed beads?
- Variety: Seed beads come in countless colors and shapes, making them perfect for creating personalized patterns.
- Cost-effective: They are often cheaper than other jewelry materials, making them ideal for beginners.
- Flexibility: Seed beads work in various types of jewelry, from bracelets and necklaces to earrings.
Step 3: Sketch Your Design
A rough sketch will help you visualize what your jewelry will look like. Draw your design on paper and experiment with different arrangements of seed beads. Think about how many layers you want and whether you want to include other materials such as metal wire, leather, or stones.
Step 4: Gather Tools and Materials
Before you start, make sure you have everything you need. Here is a list of tools and materials to get you started:
- Seed beads in various colors and sizes
- String or wire for threading
- Flat-nose pliers and wire cutters for assembly
- Any additional jewelry components such as clasps or pendants
- Creativity and patience!
Step 5: Start Manufacturing
Now it's time to start making! Follow your sketch as a guide, but be open to adjusting the design as you go.
The Manufacturing Process
- Start by cutting a piece of string of the desired length.
- Thread on seed beads according to your design, making sure to use a secure knot after each section to prevent them from slipping off.
- If you are using other materials, make sure to integrate them correctly to achieve the desired look.
- Once you are satisfied, finish with a jewelry clasp or another way to assemble your jewelry.
Step 6: Evaluate and Adjust
After you have completed your jewelry, it is important to evaluate your work. Look closely at the details – are the knots secure? Will it last in the long run? If something doesn't feel right, don't hesitate to adjust. Perhaps you need to replace a bead or restructure the design.
Step 7: Packaging and Presentation
For the presentation of your jewelry, consider how you can package it beautifully. Nice packaging can make a big difference, especially if you are giving it as a gift. Use recyclable materials for a more environmentally friendly touch.
Suggestions for Presentation Options
- Gift boxes with satin ribbons
- Organza bags
- Handmade tags with your name and a brief description of the jewelry
Step 8: Share Your Work
Once your jewelry is finished, feel free to share it on social media! Take high-quality photos that highlight the details and textures of your work. Use hashtags like #jewelrydesign and #seedbeads to reach a wider audience. You might even inspire others to start their own jewelry design journey!
Success with Your Jewelry Design
Designing your own jewelry with seed beads can be an incredible experience. Going through the entire process from idea to finished product not only provides a sense of accomplishment, but it also gives a sense of personal style and creativity. Don't forget to have fun along the way and experiment with different styles and techniques!
With these steps, we hope to inspire you to start creating, and perhaps even help you find your own unique design style. Remember that no design is too small, and all great ideas start with a simple thought. Your next piece of jewelry could become a work of art of both beauty and personal significance!
Check out another user's Shopify or Wix store by clicking this store link. Note that this is a promotional link, and we assume no liability for the content of the linked store.