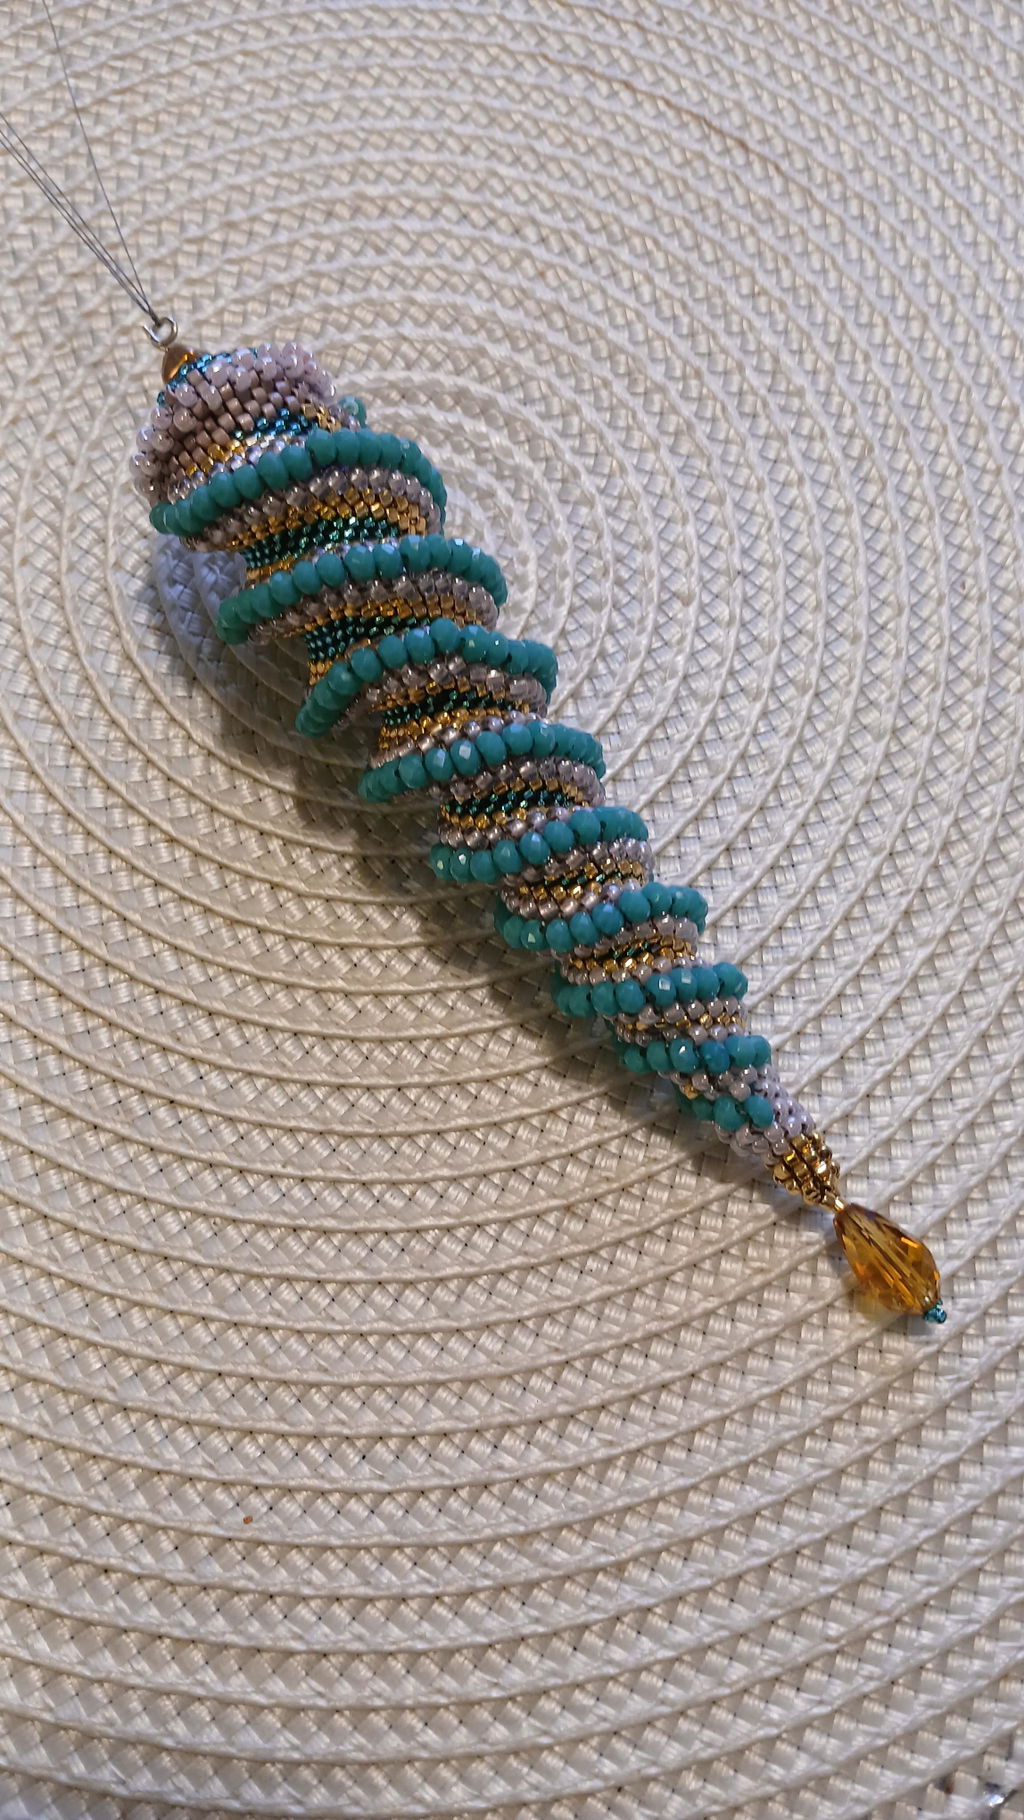
Overview
Learn techniques for knotting and attaching beads, including thread selection, tool usage, and various knotting methods. Tips for concealing knots and creating professional-looking jewelry are included. Practice and experiment to develop your own style.
Frequently Asked Questions
1. Why is it important to use the correct technique when knotting and attaching beads?
2. What type of thread is recommended for seed beads?
3. What tools are necessary for knotting and attaching beads?
4. How do you make a double knot?
5. What tip can help to conceal knots in jewelry?
Creating beautiful jewelry with beads is an art form that has existed for centuries. Whether you're working with seed beads or larger beads, the technique for knotting and attaching them is crucial to achieve a professional look. In this article, we will explore the best techniques for knotting and attaching beads, and provide you with valuable tips to help take your craft to the next level.
Why is the right technique important?
There are many reasons why it's important to use the correct techniques when knotting and attaching beads, especially seed beads. Here are some of the most important points:
- Strength and durability: A good knot will ensure that your jewelry is durable and can be worn daily without the risk of breaking.
- Aesthetics: A well-executed technique will give your jewelry a more professional and attractive appearance.
- Flexibility: Understanding different techniques gives you the freedom to experiment with various designs and styles.
The basics of knotting and attaching beads
Choosing thread and cord
The first step in creating jewelry is choosing the right type of thread. For seed beads, a thin, strong thread that is easy to work with is recommended. Nylon threads and fishing lines are popular options, as they are flexible and durable.
Tools for knotting and attaching
Having the right tools is crucial for effectively knotting and attaching your beads. Here are some tools that may be useful:
- Thread cutters
- Bead pliers
- Bead storage
- Knot protectors (if needed)
Different knotting techniques
Simple knots
A simple knot is the basic knot used to secure the end of your thread after attaching the first bead. Here's how you do it:
- Thread the thread through the first bead.
- Make a loop with the loose end of the thread and then pull the long end through the loop.
- Gently pull both ends of the thread to secure the knot.
Double knots
Double knots are ideal for providing extra security. This technique is particularly useful for seed beads, where the size is small and knots can be difficult to conceal. Do the following to create a double knot:
- Follow the same steps as for the simple knot.
- After pulling the thread, simply make a new loop and pull the thread through it again to create a second knot.
Attaching beads in different ways
Beaded necklaces
When creating a beaded necklace, you can use a variety of attachment techniques. One of the most common methods is to use bead holes, where the thread passes through the holes of each bead. It is important to tie knots between the beads to prevent them from moving.
Earrings with seed beads
Creating earrings with seed beads can be challenging, but it's a fantastic technique. To attach your seed beads, you typically use a safety hook and can use a knot to secure each seed bead in place. A good idea is to plan your design before you start to ensure everything turns out as you intended.
Tips for knotting and attaching beads
Practice your knots
Just like with any craft, knotting requires practice. Don't hesitate to practice your knots on pieces of thread before starting your project. The more you practice, the more comfortable you will become with the technique.
Use a bead mat
A bead mat is an excellent tool for organizing your seed beads and other materials. It helps you keep everything tidy and makes it easier to knot your beads in the desired order.
Be careful to hide knots
Concealing knots is key to making your jewelry look professional. You can use small dabs of glue to secure knots behind beads or use a bead that can completely hide the knot.
Moving towards your jewelry goals
Knotting and attaching beads, especially seed beads, can seem daunting at first, but with practice and the right techniques, you can master the art. Explore the different ways to knot and attach, experiment with your style, and have fun with your creations! Over time, you will develop your own technique and find new ways to use your beading talents. Your next jewelry project awaits you, so get out your tools and start creating.