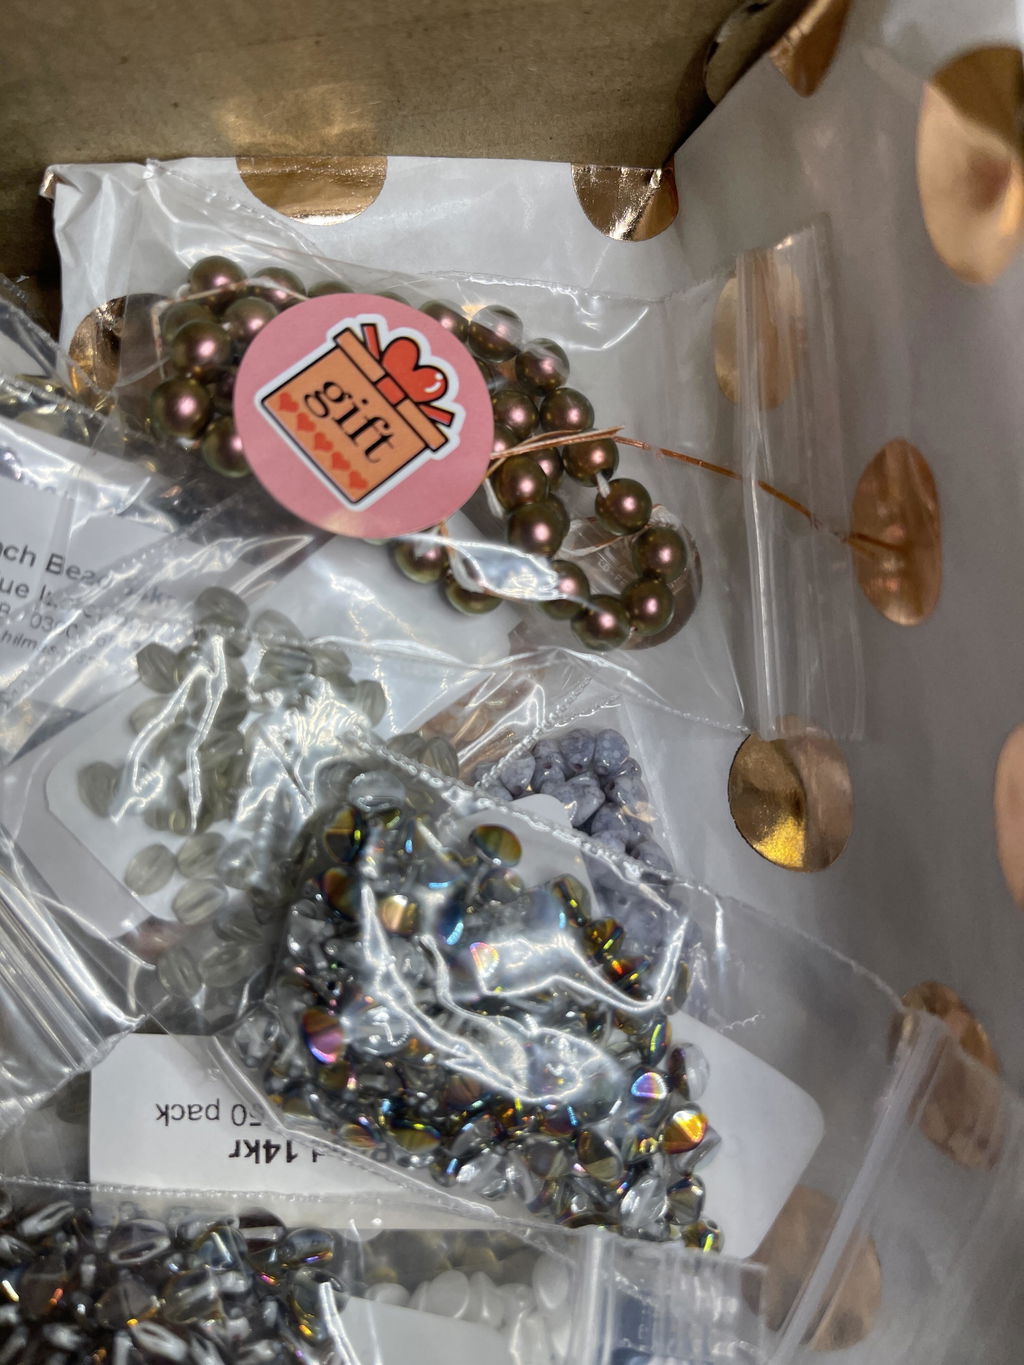
Brooch Pins from Hilmaspyssel.se – A Creative Way to Update Your Style
Do you want to give your clothes, bags, or accessories a personal touch without buying a whole new wardrobe? Then brooch pins are one of the smartest tricks. With a single small brooch, you can transform a simple blazer, scarf, or hat into something that feels both unique and thoughtful – and it all starts with the right brooch pin as a base.
At Hilmaspyssel.se, you'll find a wide range of brooch pins, brooch bases, and jewelry components that make it easy to create your own jewelry, DIY brooches, and personalized details. In this guide, we'll go through what brooch pins are, the types available, how to choose the right model, and a step-by-step guide on how to make your own brooches. You'll also get styling tips, creative project ideas, and concrete checklists so you can confidently get started with your next brooch project.
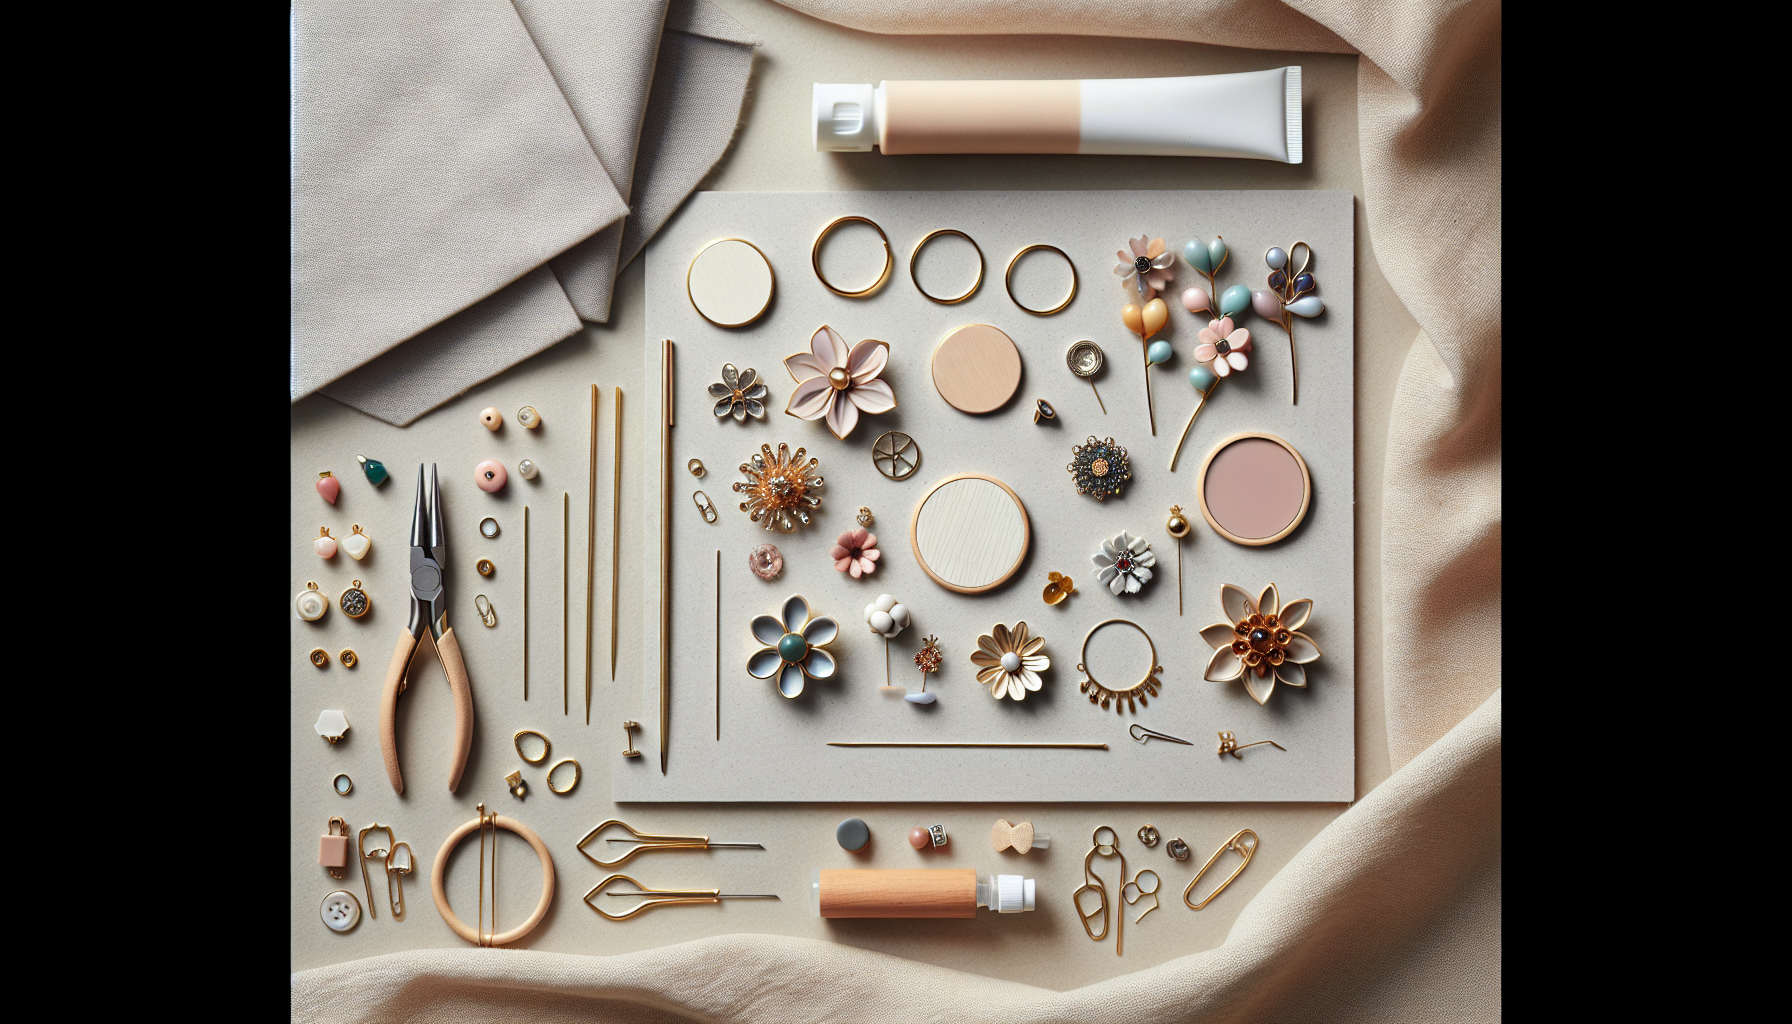
Brooch pins are small but powerful details that transform both garments and accessories. In their simplest form, a brooch pin consists of a clasp with a needle that you attach to the back of a decoration – for example, bead embroidery, crocheted motifs, felt flowers, or a cabochon. Unlike safety pins and ordinary jewelry components, brooch pins are specially designed to sit flat, securely, and neatly against the fabric, making them perfect as a base for DIY brooches and personalized pins.
From Historic Jewelry to Modern DIY Favorite
Throughout most of history, brooches have been used both practically and decoratively – from holding cloaks and scarves together to signaling status and belonging. Today, the brooch pin has seen a significant resurgence thanks to handmade jewelry, upcycling, and slow fashion.
-
Classic jewelry: Elegant metal brooches, with stones or pearls, worn on lapels and dress necklines.
-
Modern DIY trend: Homemade brooches made from felt, fabric scraps, resin, or polymer clay – perfect for creative projects with materials from Hilmaspyssel.se.
-
Personal expression: The brooch pin is now often used as a statement piece, a message carrier, or a way to show interests (e.g., hobby, fandom, profession).
This historical breadth makes brooch pins particularly rewarding for crafting: you can combine classic elegance with contemporary, playful design.
Common Uses – More Than Just on the Lapel
Brooch pins are used far beyond traditional garments, and this is where many online guides are a bit superficial. To truly harness their potential, you can use brooch pins to:
-
Spruce up clothes: Place a handmade brooch on a basic blazer, cardigan, or knitted sweater to give the garment a whole new lease of life.
-
Decorate accessories: Attach brooches to bags, hats, scarves, berets, and caps for a unique touch.
-
Control fit: Use a larger brooch to hold together a wrap dress, scarf, or cardigan without buttons.
-
Interior details: Brooches can be attached to curtain tie-backs, decorative pillows, or fabric panels for a quick seasonal change.
A concrete example: A simple black blazer can feel dull for everyday wear, but with a handmade felt brooch on a brooch pin from Hilmaspyssel.se, it suddenly becomes personal, colorful, and completely unique – without you having to buy a single new garment. The brooch pin thus becomes not just a piece of jewelry, but a smart tool for sustainable and creative fashion.
Different Types of Brooch Pins at Hilmaspyssel.se
When you start creating your own brooches, you'll quickly discover that the choice of brooch pin affects appearance, comfort, and durability. At Hilmaspyssel.se, you'll find a wide range of brooch pins and brooch bases adapted for different materials, techniques, and styles – from simple felt embroidery to heavy bead embroidery and cabochon jewelry.
Sizes, Shapes, Colors, and Materials
To navigate the selection, it's helpful to know the most common variations:
-
Basic metal brooch pins: Slim, discreet pins in various lengths – perfect as a base for your own decorations.
-
Decorative brooch bases with flat attachments: Brooch clasps with a round or oval plate where you can easily glue cabochons, felt flowers, or resin motifs.
-
Silver and gold-colored brooch pins: Give a more jewelry-like and "finished" impression, especially for festive brooches.
-
Extra secure clasp models: More robust clasps for thicker garments such as coats, jackets, or knitted cardigans, where a regular pin might easily slip out.
Here, it's smart to match the color and finish of the clasp with the metal in other jewelry components – chains, pendants, and charms – for a more professional result.
Which Brooch Pin Suits Which Project?
A common mistake in many guides is to only look at the design, not the function. Consider the following when choosing a brooch pin at Hilmaspyssel.se:
-
Felt and fabric flowers: Choose a medium-sized brooch pin with a flat attachment – provides good gluing surface and stability.
-
Bead embroidery and heavier decorations: Opt for a stronger clasp model in a slightly longer version to distribute the weight better.
-
Crocheted and thin textile motifs: A smaller, lighter brooch pin reduces the risk of the motif "hanging" or twisting.
-
Brooches for children's backpacks or outerwear: Prioritize a secure clasp and preferably a slightly sturdier model that can withstand tougher use.
By starting with the material, size, and intended use, you'll get brooches that last longer, sit better, and feel comfortable to wear – whether you're making your very first brooch or creating an entire collection with materials from Hilmaspyssel.se.
How to Choose the Right Brooch Pin for Your DIY Project
Choosing the right brooch pin is crucial for your brooch to feel secure, durable, and comfortable to wear. Many beginners focus mostly on the decoration itself, but in top articles on jewelry making, the clasp is highlighted as the detail that determines whether the project lasts. Here, we'll go through how to match the brooch pin, material, and use step-by-step – with concrete examples and practical tips you can use directly when shopping at Hilmaspyssel.se.
Material, Weight, and Use – Basic Rules to Follow
When choosing a brooch pin, always start with three questions: What will the brooch be attached to? How heavy will the decoration be? How often will it be used?
-
Thin fabrics (blouses, shirts, scarves): Choose a smaller and lighter brooch pin, preferably with a slender needle that doesn't leave large holes.
-
Thicker fabrics (coats, blazers, knitted sweaters): Opt for sturdier brooch pins with a longer needle and secure clasp, so the brooch doesn't tip forward.<
-
Heavy decoration (bead embroidery, metal, cabochons): Combine a larger brooch base with multiple glue or sewing points to distribute the weight evenly.
-
Children's clothing or bags: Prioritize an extra secure clasp and rounded edges to reduce the risk of the needle opening accidentally.
A practical example: A large bead-embroidered flower on a blazer requires a longer, robust brooch pin, preferably with multiple attachment points. A light crocheted motif for a scarf, on the other hand, is best with a small, discreet pin that doesn't drag the fabric down.
Size, Clasp Mechanism, and Concrete Examples from Real Projects
In addition to material and weight, size and clasp mechanism play a significant role – something often only briefly mentioned in other guides. Consider this:
-
Small, discreet brooches: Short brooch pin (approx. 15–25 mm) with a simple safety clasp. Perfect for small felt flowers or initial brooches on children's backpacks.
-
Statement brooches: Longer brooch pin (30–40 mm or more) with a stable clasp, preferably mounted horizontally to support the weight on lapels or thicker cardigans.
-
Delicate garments: Choose models with a softer tip and always test attach it to a seam or inside first to see how the fabric reacts.
Also, consider how often the brooch will be taken on and off. For a favorite coat worn daily, a robust clasp is important, while a light party brooch on a dress can manage with a simpler model.
By considering the garment's fabric, the decoration's weight, and when the brooch will be used, you reduce the risk of crooked brooches, holes in the fabric, and lost jewelry – and get the most out of the range of brooch pins at Hilmaspyssel.se.
Step-by-Step: How to Make Your Own Brooch with Materials from Hilmaspyssel.se
Making your own brooch is much easier than many people think – especially when you have the right brooch pins and jewelry components gathered in one place. With Hilmaspyssel.se as your "helper," you can pick up everything you need online and follow a clear step-by-step process. Here, we'll go through a working method that both beginners and more experienced crafters can rely on.
Material List and Preparations
Start by gathering the basic materials:
-
Brooch pin/brooch base: Choose model and size according to your intended design
-
Glue or needle & thread: Jewelry glue/epoxy glue for hard surfaces, needle & strong thread for textiles
-
Decorations: pearls, cabochons, felt details, charms, pendants, chains
-
Backing: Piece of felt, faux leather, or sturdy fabric for stability if needed
-
Tools: Scissors, pliers, tweezers, possibly a glue gun
-
Plan the design – lay out pearls, cabochons, and decorations on the table or on a piece of fabric. Photograph the layout with your phone so you remember the order.
-
Choose the right brooch pin – check the length, color (silver/gold/bronze), and if the clasp is secure enough for the garment you intend to use.
Here, many make the mistake of going straight to the glue. By sketching or test-laying first, you avoid unbalanced brooches that tip forward or hang crooked.
Assembly, Attachments, and Durable Finish
-
Prepare the decoration – first sew together fabric flowers, embroider pearls on felt, or mount the cabochon in its frame before proceeding to the brooch pin.
-
Attach to the brooch pin:
-
For a flat brooch base: use jewelry glue in thin layers, press lightly, and let rest flat for at least 12–24 hours
- For textile brooches: sew the brooch pin through fabric/felt with short, tight stitches around the mounting plate
-
For heavier brooches: combine glue and a few invisible stitches for extra security
-
Let dry and test attach – test the brooch on a similar garment for which it is intended. Adjust if necessary, for example, by adding a piece of felt on the back for more stability.
A simple checklist for each brooch project:
-
Is the weight reasonable for the brooch pin you've chosen?
-
Is the back smooth against the skin/garment?
-
Is the clasp easy to open but clicks securely into place?
When you follow the steps above, you'll get brooches that are not only pretty in pictures – but also hold up to real everyday use, year after year.
Creative Ideas – 10 Inspiring Projects with Brooch Pins
Brooch pins are perfect for those who want to create personalized accessories without needing advanced jewelry skills. With the right bases from Hilmaspyssel.se, you can quickly transform simple materials like felt, beads, fabric scraps, and charms into unique brooches for both everyday wear and special occasions. Here, you'll find concrete DIY ideas, sorted by difficulty, so you can easily choose projects according to your time, inclination, and experience.
Easy Brooch Projects for Beginners
-
Cute felt brooch with simple shapes: Cut out hearts, circles, or flowers from felt, glue in layers, and attach to a brooch pin. Perfect for scrap yarn and fabric remnant projects.
-
Wooden bead brooch with macrame cord: Thread a few larger wooden beads onto a stiffer cord, tie a simple knot, and attach to the brooch base with strong glue.
-
Initial brooches for children's backpacks: Use letter charms or beads with letters and combine with a simple brooch base – personal and practical.
Here, it's smart to choose smaller brooch pins and lighter materials. Hilmaspyssel.se has many ready-made decorations (e.g., cabochons, charms, and metal flowers) that allow you to skip several steps and still get a professional result.
Medium & Advanced – Statement Brooches and Seasonal Themes
-
Flower brooch made of felt and sequins: Build up several layers of felt leaves, sew sequins and pearls in the center, and mount on a stable brooch base – perfect for a coat or scarf.
-
Vintage-inspired cabochon brooch: Combine a decorative metal frame with a glass or acrylic cabochon. Glue into the frame, let dry thoroughly, and attach to a brooch pin with a flat attachment.
-
Beaded brooch: Embroider beads, sequins, and small charms onto felt, trim the edges neatly, and glue or sew onto the brooch base – creates an exclusive, handmade feel.
- Seasonal brooches:
- Christmas: small snowflakes, Christmas trees, or Santa motifs in metal or acrylic
- Easter: chicks, eggs, pastel-colored beads
- Graduation/wedding: white flowers, pearls, small metal hearts
For these projects, larger and sturdier brooch pins are ideal, preferably with secure clasps, especially if the brooch is to be worn on outerwear. Feel free to combine new brooch pins from Hilmaspyssel.se with upcycling – such as old buttons, lace, worn jewelry, or inherited pearls – for a sustainable and personal expression that stands out from mass-produced accessories.
Styling Tips – How to Wear Brooch Pins Stylishly for Everyday and Special Occasions
Brooch pins are no longer just grandmother's beloved jewelry – they are one of the most versatile styling tools in a modern wardrobe. A well-placed brooch can elevate a simple T-shirt, add character to a coat, or create a completely unique party look. With a few thoughtful tricks, you can use your brooches from Hilmaspyssel.se every day, without them feeling overdressed or "too much."
Placement on Garments, Accessories, and for the Whole Family
-
On blazers and cardigans: Attach the brooch pin just above the heart or on the lapel for a classic, stylish look. Combine a larger statement brooch with simpler garments for a clear focal point.
-
On shirts and dresses: Place a smaller brooch on the top button, in the center front of the collar, or on the waist seam of a dress for a more feminine expression.
-
On scarves, hats, and bags: Use brooch pins to neatly secure a scarf, decorate a beret or hat, or give a tote bag a personal touch.
-
Men's fashion: A discreet metal brooch on the lapel, on the edge of a hat, or on a backpack strap makes the outfit more thoughtful without being ostentatious.
-
For children: Place smaller, lighter brooches on backpacks and outerwear. Choose models with secure clasps and rounded edges.
Start with a garment's lines: follow the neckline, lapel, or seams with the brooch to achieve a harmonious impression. Always test the placement in the mirror – sometimes a few centimeters up or down is enough for the look to be perfect.
Layering, Theme Looks, and Quick Styling Hacks
Want to jump on the catwalk trend? Try layering with several small brooches gathered in one place – for example, on one side of a blazer or along the edge of a denim jacket. Stick to a color scheme (e.g., silver and blue) to make it feel well-thought-out, not cluttered.
Some simple styling ideas:
-
Office: A small metal brooch on a lapel or shirt collar in a neutral color – discreet yet personal.
-
Party: Combine a glittery brooch with sequins or rhinestones on the shoulder of a dress or at the waist. Two identical brooches can neatly frame a wrap dress.
-
Everyday: Playful felt or beaded brooches on a denim jacket, knitted sweater, or tote bag – perfect for varying your style without buying new clothes.
-
Seasonal theme: Change brooches according to the holiday – Christmas motifs on your coat in December, floral brooches in spring, graduation or wedding themes on party clothes.
Consider balance: if the brooch is large and eye-catching, let the rest of the jewelry be simpler. With a few different brooch pins from Hilmaspyssel.se, you can build a small "styling wardrobe" that gives you new combinations all year round – without having to replace your favorite garments.
Care, Storage, and Durability for Brooch Pins
Brooch pins can last for many years – and often for several generations – if you take care of them properly. Many guides mention cleaning quickly but rarely go into detail about how to actually do it with modern DIY brooches made of mixed materials such as metal, felt, beads, and cabochons. Here's a practical overview tailored for brooch pins and brooch bases like those you find at Hilmaspyssel.se.
Cleaning and Smart Storage of Brooch Pins
Here's how to keep your brooches fresh and beautiful:
-
Carefully clean metal parts: Wipe with a soft, slightly damp cloth. Avoid strong chemicals on plated brooch pins (silver/gold colored) – they can abrade the surface.
-
Protect delicate decorations: Pearls, rhinestones, and cabochons are best cleaned dry with a soft brush or cotton swab.
-
Store brooches separately: Place them in small jewelry pouches, compartmented boxes, or organized drawers so that needles and metal parts don't scratch each other.
-
Keep moisture away: Do not store brooch pins in bathrooms or basements – moisture accelerates discoloration and rust on simpler metals.
An extra tip is to have a small "brooch station" at home: a small box or container where you collect both your finished brooches and extra brooch pins from Hilmaspyssel.se. This makes it easy to check clasps, clean, and plan new projects all in one place.
Safety and Sustainable Choices – How to Make Brooches Last Longer
To ensure both you and your garments last longer, it's worth considering safety and sustainability even when you create the brooch:
-
Check the clasp regularly: Make sure the pin still springs, the clasp arm closes properly, and nothing is loose. Replace worn brooch bases – they cost little but save both garments and decorations.
-
Extra care for children's brooches: Use secure clasp models on outerwear and backpacks, and avoid overly sharp pins on garments that children put on and take off themselves.
-
Consider the fabric: Thicker outer fabrics and denim can withstand more, while thin blouses and knitted sweaters need smaller, lighter brooch pins and preferably a stable backing (e.g., felt) to avoid holes and stretching.
-
Durability in material choice: Invest in quality brooch pins and combine them with recycled decorations – fabric scraps, old buttons, and jewelry components get new life with fresh brooch bases from Hilmaspyssel.se.
By making maintenance and inspection a habit – for example, a quick check every time you take off a favorite brooch – you extend the life of both the brooch pins and your DIY creations. This makes your collection more sustainable, more useful, and significantly more fun to build upon over time.
Frequently Asked Questions about Brooch Pins
Q: What type of brooch pin is best suited for heavy and light brooches, respectively?
A: For heavy brooches – such as bead-embroidered flowers or metal decorations – it is important to have a longer and stronger brooch pin with a stable clasp. Choose a model with several attachment points (multiple holes or a larger plate) so that the weight is evenly distributed. For light brooches, such as crocheted motifs, felt figures, or paper flowers, a shorter, narrow brooch pin is usually sufficient. At Hilmaspyssel.se, you can choose based on both size and clasp type in the product description.
Q: How do I avoid the brooch pin damaging or creating holes in the fabric?
A: Always use sharp, intact pins and avoid pulling the pin back and forth in the same hole. On thinner fabrics, you can attach the brooch pin to seams, hems, or double fabric layers to reduce stress. For very delicate materials (e.g., silk), you can instead attach the brooch to a fabric patch or felt piece on the inside and let the brooch pin go through it, not directly through the garment.
Q: What glue works best when attaching decorations to brooch bases?
A: For brooch bases with a flat attachment, a strong jewelry or metal glue is usually the safest choice. For porous materials like felt and fabric, textile glue or the combination of sewing + glue works very well. Avoid hot glue guns for heavy decorations – hot glue can detach over time. Many DIY creators use two-part epoxy glue for glass cabochons and metal frames, precisely because it provides a long-lasting, strong bond.
Q: How do I make brooches more child-safe?
A: Choose extra secure clasp models and avoid very sharp pins for small children. Attach the brooch where the child cannot easily reach to fiddle with it, for example, higher up on the jacket or on a backpack. Avoid small parts that can come loose (small beads, loose charms) for children under three years old. A good tip is to regularly check the clasp and ensure the decoration is securely attached, especially after playing outdoors or in a preschool environment.
Q: How do I store brooch pins and brooches so they don't get scratched or discolored?
A: Store brooches in separate compartments, small bags, or jewelry boxes so that the metal doesn't rub against other jewelry. Keep them away from moisture, perfume, and hairspray – chemicals can eventually cause discoloration. A simple trick is to wipe the brooch with a soft, dry cloth after use before putting it back in the box.
Q: Can I use old jewelry and buttons with new brooch pins?
A: Yes, it's a perfect way to create sustainable and personalized brooches. Old earrings, broken necklaces, buttons, and lace can get new life when glued or sewn onto a brooch base from Hilmaspyssel.se. Just remember to clean the parts first and check that the back is flat enough or can be built up with felt, fabric, or jewelry components so that everything remains stable over time.
Conclusion: Small Brooch Pins, Big Impact on Your Style
Throughout this article, you've seen how brooch pins can go from a simple jewelry component to a powerful tool for personal expression. You now know what a brooch pin is, what models are available, how to choose the right clasp and size, how to create your own brooches step-by-step, and how to style them for both everyday wear and special occasions. You've also received practical tips on care, storage, and how to think more sustainably by combining new brooch pins with recycled materials.
The next step is to put the inspiration into practice. Visit Hilmaspyssel.se, go directly to the brooch pins and brooch bases category, and choose a model that suits one of the projects in the guide – preferably a simple one first, so you quickly get a successful result. Add some beads, cabochons, or felt details to your shopping cart, schedule a crafting session, and create your first (or next) unique brooch. Start small, dare to experiment, and let your new brooches be the starting point for a more personal, creative, and sustainable wardrobe.